

If you would like to make one yourself here's how to do it.

First hit the op shops and gather a stash of old doilies or crochet table cloths. You'll also need a piece of linen. Decide what size cushion you'd like. Mine was 45cm square. I add a couple of cms for seam allowance and cut two 47cm squares of linen.

Next carefully cut into the doily and snip out the section that you'd like to use on the cushion. Make sure its big enough to go right across your cushion front.
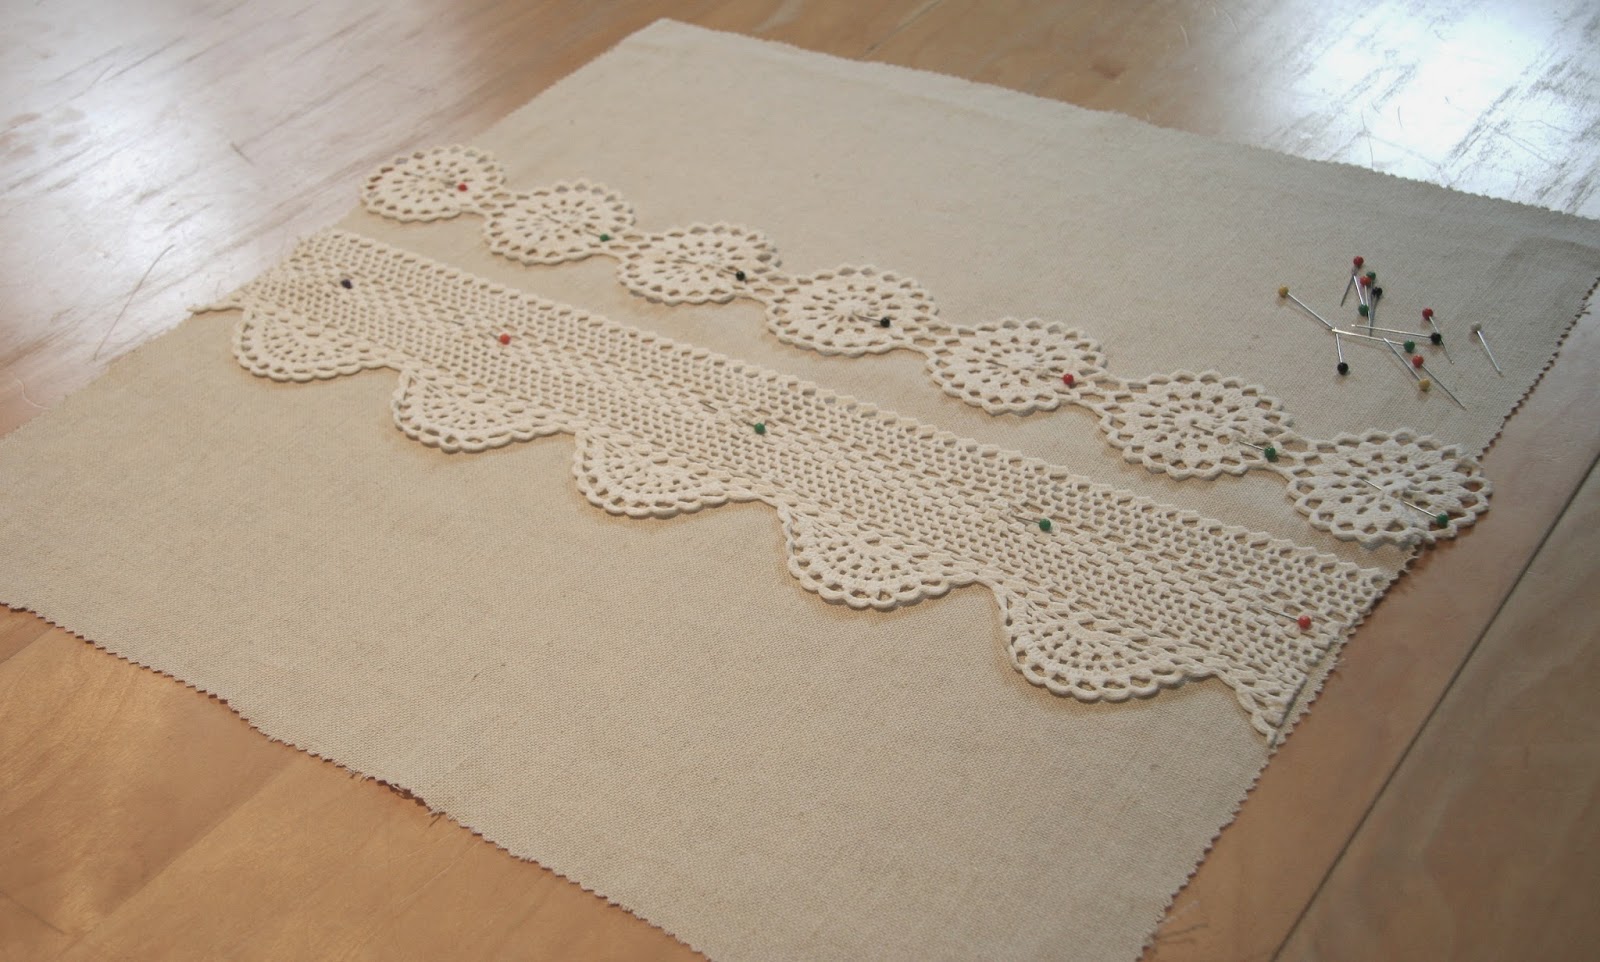

Pin your doily sections to one of your linen squares and then using a sewing machine sew along the top edge of your doily section. Secondly sew straight along the middle of your doily section and lastly along the bottom. Your doily sections should be nice and securely attached to your linen.
If you need to sew curved lines then go slowly adjusting the fabric as you go, keep stopping and whilst the needle is down in the fabric lift the presser foot, adjust the fabric, put the presser foot back down and sew a bit more, stop again whilst the needle is down, lift the presser foot, adjust fabric, lower the presser foot and keep going.

Then get your other square of linen and place it on top of the one that you've sewn the doily sections to. Make sure the right sides are facing inwards and sew the bottom edge of your cushion together. Open it out and press the seams. (Ok - My linen is double sided, just to confuse you! It's printed on one side and plain on the other. I used the plain side for my cushion, so ignore the pattern - it's never going to be seen. The patterned side is the back of my fabric as far as I'm concerned!)

Pin your zip to the pressed seam and sew around the zip using a zipper foot. If you need help with putting in a zip use this tutorial. I did!

Pin the other 3 edges together and whizz it round the sewing machine.

Turn the cushion cover the right way out, put in your cushion filler and you're done. Hurrah!


No comments:
Post a Comment