Pages

Sunday, April 27, 2014

DIY Crochet Necklace


I do not crochet.  I have failed to teach myself twice.  So this is a bit of a cheats 'crochet' necklace.  It takes hardly any time at all and involves NO CROCHET.  It came about as a good way to utilise some left overs from my vintage crochet and linen cushions.


Here is what I did:  Cut some nice circle shapes from old cotton doilies/table cloths, measured around my neck to where I wanted the necklace to sit and bought some cut to length chain from the local bead shop, as well as 2 swallow charms and 2 split rings (pics 1 & 2).

Arranged my little doily circles and simply stitched them together.  A couple of stitches was all it took to join the doily circles to one another (pic 3).

I then stitched my swallow charms in place at the edge of the doilies, and then attached a split ring to each end of the chain and also to the outer edge of the doilies.  That is all.  Hurrah!


Tuesday, April 22, 2014

Stitched Racquet Tutorial


This is a really easy, one evening tutorial resulting in some smashing wall decoration.  Have fun with it, make up whatever pattern you fancy using the strings of the racquet as a guide.

You will need:

 - A racquet or two... or three.  I picked mine up for $2 each from Vinnies.
 - Some wool.  I used skeins of tapestry wool.
 - A needle with a big enough eye to thread wool through.  (This is optional.  You could just thread the wool through the racquet strings by hand but I found a needle was easier.  I'd recommend a blunt ended needle to avoid stabbing of fingers. ouch)


First things first:  How to thread that quite chunky wool through the eye of a needle.

1. Loop your wool over the needle

2. Pull the wool taut over the needle, grip it between your fingers and slide it along the needle towards the eye.  Slide it right past the eye, right over the end, keep a tight grip of the thread.

3. Push the thread under the eye of the needle and up through the eye of the needle.

4. Pull the loop of thread through the eye a bit.

5. Pull the short end all the way through the eye and the needle is now threaded.


Now just get threading that wool through the strings of the racquet in whatever pattern takes your fancy.

1. The only trick to master is securing your wool so that it doesn't unravel.  Do this by wrapping the start of your thread underneath your first few stitches:  Hold the end with your finger whilst you do your first couple of stitches over the end of the thread.  Keep going for a few more stitches and then the end should feel nice and secure.  

2 & 3. Keep going through the strings of the racquet.  I found that it took 4 stitches to fill a square.

4. When you reach the end of your pattern or need to switch colours thread the needle under the back of the last few stitches.

5 & 6. Pull the thread through and trim the end.


Thursday, April 17, 2014

Before and After - Floral Desk


Hope you like!

BEFORE

AFTER


My favourite bit was making the door and drawer pulls from an old belt.


Thursday, April 10, 2014

Vintage Crochet Cushion Tutorial

Do you like these linen and vintage crochet cushions?  You could make one if you like!


If you would like to make one yourself here's how to do it.


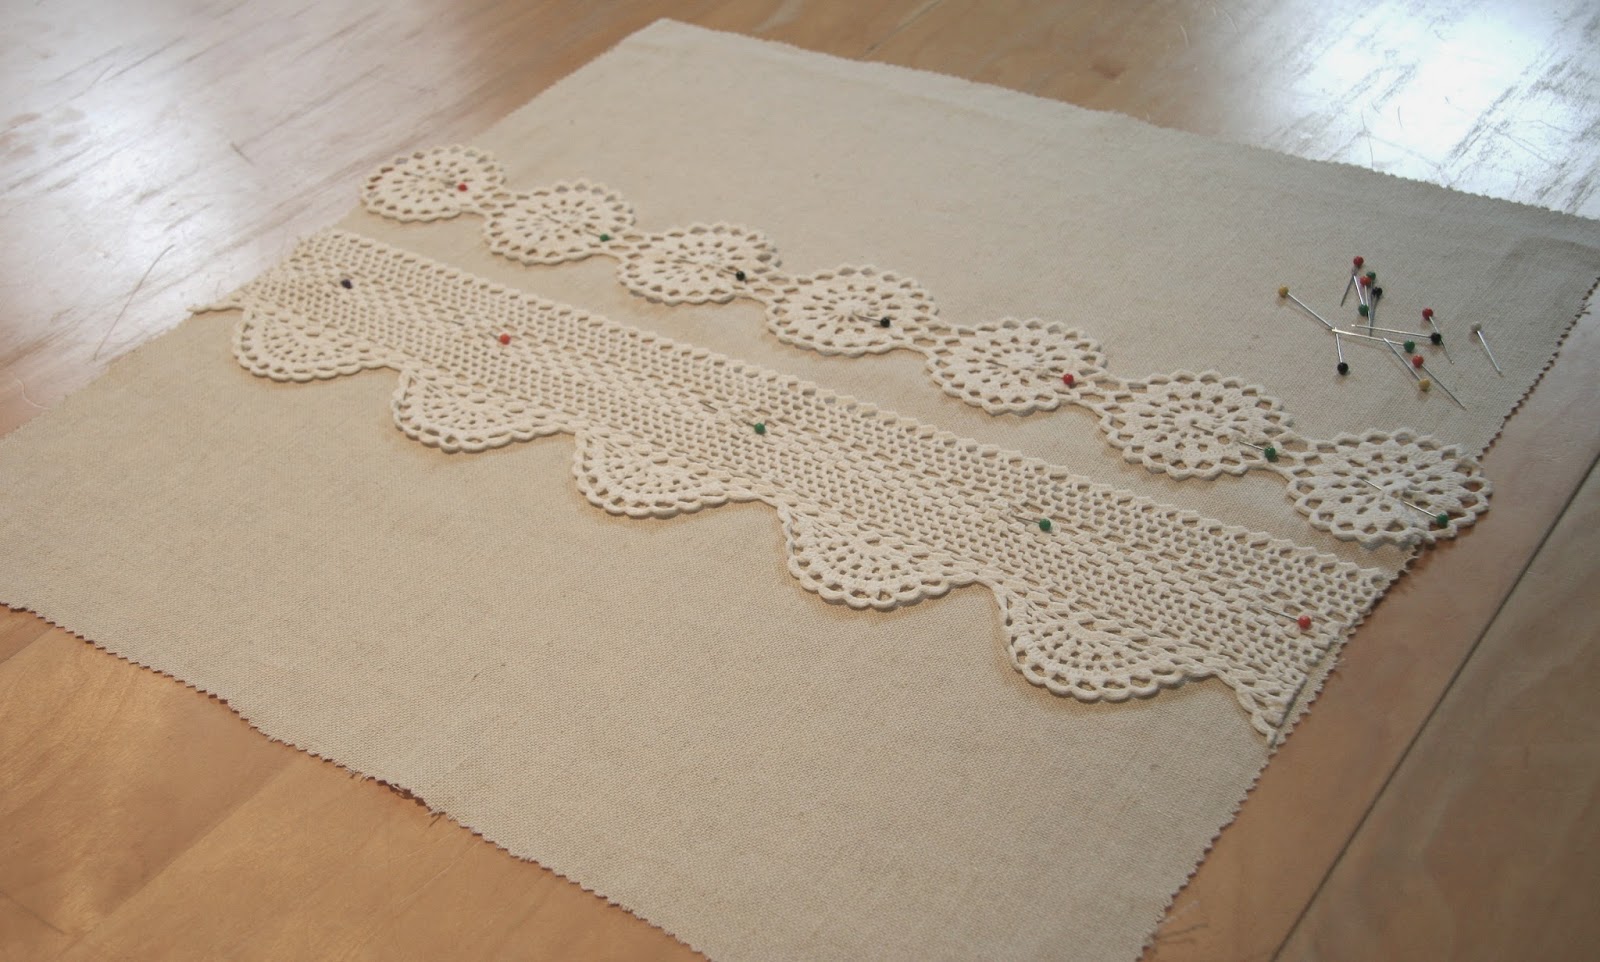
First hit the op shops and gather a stash of old doilies or crochet table cloths.  You'll also need a piece of linen.  Decide what size cushion you'd like.  Mine was 45cm square.  I add a couple of cms for seam allowance and cut two 47cm squares of linen.

  
Next carefully cut into the doily and snip out the section that you'd like to use on the cushion.  Make sure its big enough to go right across your cushion front.


Pin your doily sections to one of your linen squares and then using a sewing machine sew along the top edge of your doily section.  Secondly sew straight along the middle of your doily section and lastly along the bottom.  Your doily sections should be nice and securely attached to your linen.

If you need to sew curved lines then go slowly adjusting the fabric as you go, keep stopping and whilst the needle is down in the fabric lift the presser foot, adjust the fabric, put the presser foot back down and sew a bit more, stop again whilst the needle is down, lift the presser foot, adjust fabric, lower the presser foot and keep going.  


Then get your other square of linen and place it on top of the one that you've sewn the doily sections to.  Make sure the right sides are facing inwards and sew the bottom edge of your cushion together.  Open it out and press the seams.  (Ok - My linen is double sided, just to confuse you!  It's printed on one side and plain on the other.  I used the plain side for my cushion, so ignore the pattern - it's never going to be seen.  The patterned side is the back of my fabric as far as I'm concerned!)


Pin your zip to the pressed seam and sew around the zip using a zipper foot.  If you need help with putting in a zip use this tutorial.  I did!


Pin the other 3 edges together and whizz it round the sewing machine.


Turn the cushion cover the right way out, put in your cushion filler and you're done.   Hurrah!


Friday, April 4, 2014

Velvet Buttoned Cushions

I have just finished making these reversible buttoned cushions for the shop.  They are velvet on one side and patterned on the other.  I hope you like them.  I've also almost finished two tutorials and I'll be posting them here in the next few days.  One involves vintage crochet and the other involves squash racquets.... obviously.  Stay tuned...